

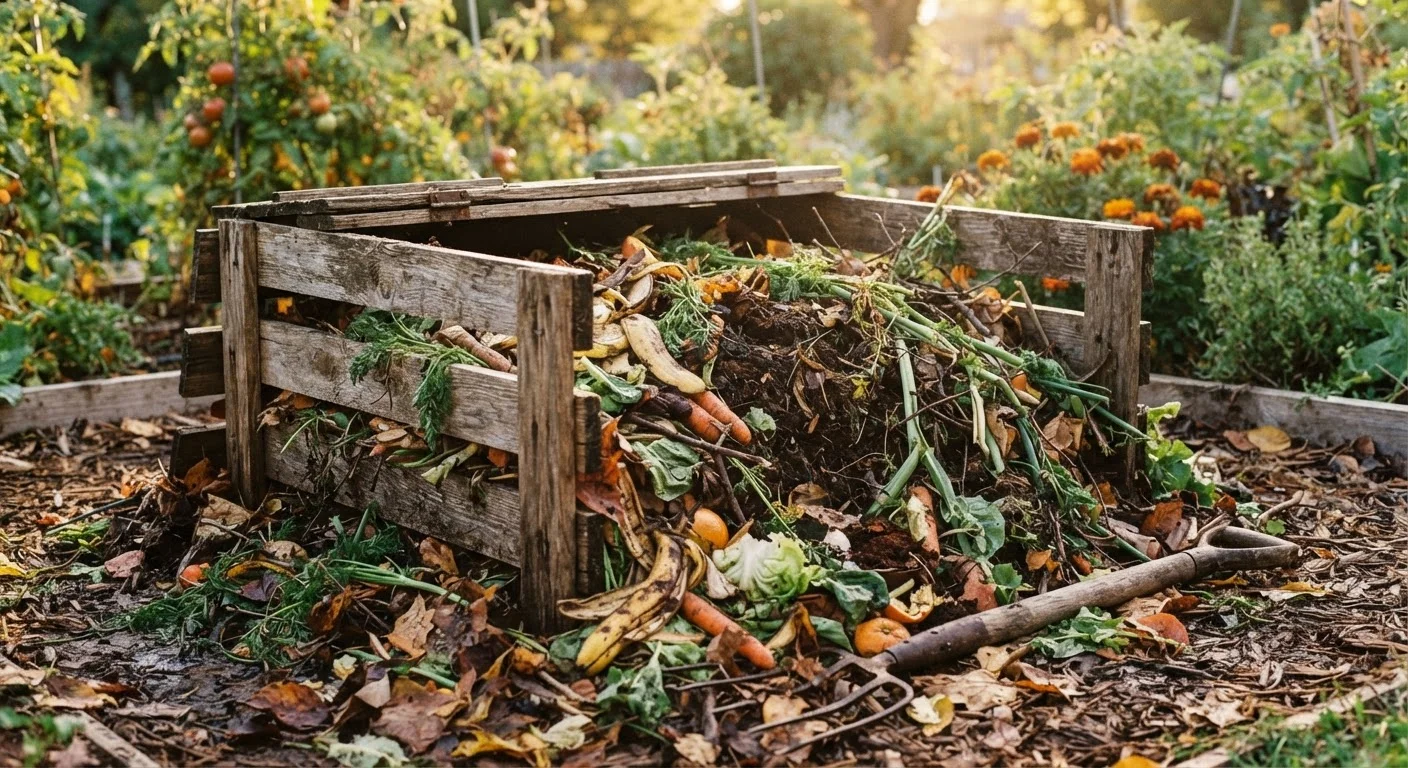
Why Home Composting Makes Sense for Families
Composting is one of the most cost-effective ways to improve your garden soil without spending money on commercial fertilizers. Instead of sending food scraps and yard trimmings to the landfill, you redirect them into a natural decomposition process that produces humus - a dark, crumbly material that improves soil structure, feeds beneficial microorganisms, and helps plants retain moisture.
For budget-conscious families, the appeal is straightforward: the inputs are free. Vegetable peels, coffee grounds, grass clippings, and fallen leaves are materials most households already generate. Paired with the right setup, they become a steady supply of free soil conditioner.
If you're also working on a broader garden plan, our guide to starting a home garden on a tight budget is a natural companion to this walkthrough. And if space is tight, container gardening is another practical approach worth exploring alongside composting.
What you will need
What You'll Need Before You Start
Composting doesn't require specialized equipment to get started. A simple pile in a corner of your yard works, though a contained bin speeds up decomposition and keeps things tidy. Here are the tools and materials that make the process easier.
Compost bin or enclosed container
Keeps the pile contained, retains heat to speed decomposition, and reduces pest access.
Garden fork or compost turner
Used to aerate the pile by turning materials, which introduces oxygen and accelerates breakdown.
Small countertop compost pail
Collects kitchen scraps indoors so you make fewer trips to the outdoor bin.
Garden hose or watering can
Maintains the moisture level of the pile, which is essential for active decomposition.
Hardware cloth or mesh
Can be wrapped around an open pile to deter rodents and larger pests from entering.
Step-by-Step: Building and Maintaining Your Compost
Follow the steps below in order. The process is forgiving - small mistakes won't ruin your compost, but attention to balance and moisture will produce results significantly faster.
Choose your composting method and location
Select a spot that's convenient to reach from the kitchen and garden. Good drainage is important - avoid low-lying spots where water pools. Partial shade is ideal; full sun can dry the pile out too quickly, while deep shade slows microbial activity.
For most families, a simple three-sided wooden bin, a purchased plastic tumbler, or even a freestanding pile works fine. Aim for a minimum size of 3×3×3 feet - smaller piles struggle to generate enough internal heat for efficient decomposition.
Understand the greens-to-browns ratio
Healthy compost depends on balancing two categories of material:
- Greens (nitrogen-rich): Fruit and vegetable scraps, coffee grounds, tea bags, fresh grass clippings, and plant trimmings.
- Browns (carbon-rich): Dry leaves, cardboard (torn into pieces), newspaper, straw, and wood chips.
A general guideline is roughly 2-3 parts browns to 1 part greens by volume. This ratio supports the microbial activity that drives decomposition without creating excess moisture or odor. It doesn't need to be exact - think of it as a rough guide rather than a strict formula.
Build your base layer
Start with a 4-6 inch layer of coarse browns directly on the ground - wood chips, straw, or small twigs work well. This base layer improves airflow from below and helps excess moisture drain away, preventing the anaerobic (oxygen-deprived) conditions that cause foul odors.
Layer greens and browns as you add material
Rather than dumping scraps in a single spot, alternate layers: a few inches of greens, followed by a thicker layer of browns. This layering approach distributes nitrogen and carbon more evenly, giving microbes consistent conditions throughout the pile rather than isolated pockets.
You don't need to be rigid about this - simply adding a handful of dry leaves every time you add kitchen scraps achieves roughly the same effect in practice.
Maintain moisture and turn regularly
Check the pile's moisture level every week or two. The material should feel damp throughout - similar to a wrung-out sponge. If it feels dry, add water in small amounts and turn the pile. If it's soggy, add more browns and turn to introduce air.
Turn the entire pile every one to two weeks using a garden fork. Move material from the outer edges toward the center, where temperatures are highest. Consistent turning is the single most effective way to speed up decomposition.
Recognize when compost is ready to use
Finished compost is dark brown to black, crumbly in texture, and smells like fresh earth - not rotting food. The original materials should be largely unrecognizable. Under typical home conditions, active composting takes two to six months depending on pile size, turning frequency, temperature, and material mix.
If parts of the pile aren't fully broken down, simply sift out the larger chunks and return them to the active pile to continue decomposing.
Once your compost is consistently dark, crumbly, and smells earthy rather than sour, it's ready to use. Work it into garden beds before planting, or apply it as a top dressing around established plants. For ideas on putting finished compost to work, see our square foot gardening guide or our advice on organic pest control, where healthy soil plays a key role.
Troubleshooting Common Compost Problems
Pile smells bad
A strong, unpleasant odor usually signals too many greens (excess nitrogen) or insufficient airflow. Add a generous layer of browns such as dry leaves or torn cardboard, then turn the pile to introduce oxygen.
Nothing seems to be decomposing
The most common cause is a pile that's too dry. It should feel like a wrung-out sponge - moist but not dripping. Water it lightly and turn it. A pile that's too heavy on browns and light on greens can also stall; add fresh kitchen scraps to reinvigorate microbial activity.
Pests are getting in
Avoid adding meat, dairy, oily foods, or cooked items, as these attract rodents and other pests. A lidded bin or hardware cloth barrier around the base of an open pile significantly reduces this risk.
Good organization habits at home make composting even easier - separating kitchen scraps into a small countertop container before taking them outside cuts down on daily trips and mess. Our home organization starting guide has practical tips on building those kinds of household routines.
The content provided on our blog site traverses numerous categories, offering readers valuable and practical information. Readers can use the editorial team’s research and data to gain more insights into their topics of interest. However, they are requested not to treat the articles as conclusive. The website team cannot be held responsible for differences in data or inaccuracies found across other platforms. Please also note that the site might also miss out on various schemes and offers available that the readers may find more beneficial than the ones we cover.