

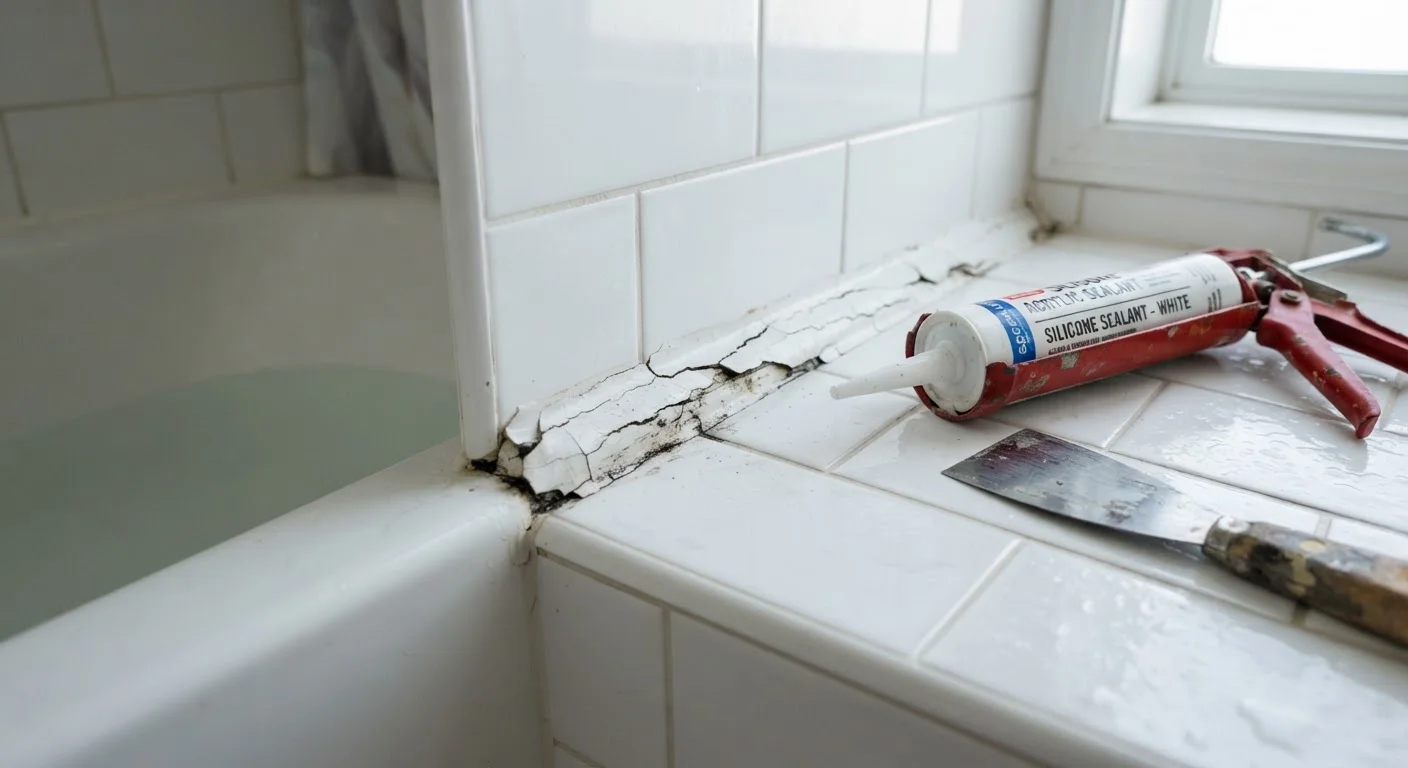
Why Caulk Fails Faster Than It Should
A fresh bead of caulk looks like a permanent fix, but many homeowners find themselves redoing the same joint within a year or two. The frustrating truth is that premature caulk failure is almost always preventable. Understanding what goes wrong - and why - makes every future caulking job more durable.
Caulk serves as a flexible seal that bridges the gap between two surfaces that may expand, contract, or shift slightly over time. When that seal breaks down, water gets in, drafts develop, and mold can follow. The mistakes listed below are the most common culprits, and correcting even one of them meaningfully extends the life of your repair.
For a deeper look at how material choice affects longevity, see our guide to silicone vs. acrylic caulk - the right product for the right location matters more than most people realize.
Applying new caulk directly over old, failing caulk.
Why it happens: It seems like a time-saving shortcut - the old caulk is still partially adhered, so layering on top feels logical.
Skipping surface cleaning and moisture control before caulking.
Why it happens: Homeowners often underestimate how much residue - soap scum, mold, dust, or oils - invisible to the eye can interfere with adhesion.
Using the wrong type of caulk for the location.
Why it happens: Many people grab whichever caulk is on hand or choose based on color, without checking whether it's rated for their specific application.
Not allowing adequate curing time before exposing the joint to water or stress.
Why it happens: The caulk surface skins over quickly, making it look dry and ready - but the interior has not yet fully cured.
Applying caulk in a joint that has too much movement or structural flex.
Why it happens: Caulk is often seen as a universal gap filler, but joints that experience regular structural movement exceed caulk's flexibility limits.
Getting the Application Right the First Time
Once you've stripped the old caulk, cleaned the surface thoroughly, and confirmed you have the right product, technique is what separates a three-year seal from a three-month one.
Cut the caulk tube tip at a 45-degree angle, starting with a small opening - you can always enlarge it, but you can't undo an oversized bead. Hold the gun at a consistent angle and move at a steady pace, applying light, even pressure. Aim to fill the joint in a single pass rather than layering multiple passes on top of each other.
After laying the bead, wet your fingertip or use a caulk-smoothing tool to press the caulk firmly into the joint and create a slightly concave surface. This presses the sealant into contact with both surfaces and removes air pockets. Wipe away excess with a damp cloth before it skins over.
Don't Rush the Curing Process
Silicone caulk may feel firm to the touch within a few hours, but full adhesion and flexibility develop over 24-72 hours depending on the product and ambient humidity. Running water over the joint or flexing the surface before the caulk has fully cured can cause the seal to pull away from one or both edges. Always read the product's cure time instructions before using the area.
Caulking around windows and doors is closely related to weatherstripping - both seal gaps that let in air and water. Our weatherstripping explainer covers how the two work together. If your caulk repairs are part of a broader bathroom refresh, you may also find our regrouting guide useful for tackling tile joints at the same time.
The content provided on our blog site traverses numerous categories, offering readers valuable and practical information. Readers can use the editorial team’s research and data to gain more insights into their topics of interest. However, they are requested not to treat the articles as conclusive. The website team cannot be held responsible for differences in data or inaccuracies found across other platforms. Please also note that the site might also miss out on various schemes and offers available that the readers may find more beneficial than the ones we cover.