

Why Regrouting Is Worth Your Time
Grout is the mortar-based filler between tiles that seals joints and keeps water from reaching the wall behind them. Over time, moisture, soap, cleaning products, and normal movement cause grout to crack, crumble, or turn a discouraging shade of grey or brown. When that happens, the damage isn't just cosmetic-failing grout can allow water to seep behind tiles, leading to mould and structural problems that are far more expensive to fix.
The good news is that regrouting is a genuinely DIY-friendly task. It requires patience and the right tools, but no specialist skill. If you're new to home repairs generally, it helps to start with a foundation of confidence-our beginner's guide to home repairs covers how to read a repair and work safely before you pick up your first tool.
Before you begin, inspect your tiles closely. If any are cracked, hollow-sounding (tap them gently), or shifting underfoot or under pressure, address those issues first. Regrouting over an unstable surface won't hold.
What you will need
Tools and Materials You'll Need
Gather everything before you start so you're not mid-project and missing something important. The right tools make removal much less frustrating.
Grout saw or oscillating multi-tool with grout blade
Cuts and loosens old grout from joints without damaging tile edges.
Utility knife
Useful for cleaning out narrow joints and removing stubborn grout remnants.
Grout float
Spreads new grout evenly across tile joints and packs it firmly into place.
Bucket and large sponge
Used to clean excess grout from tile surfaces during and after application.
Grout (sanded or unsanded, moisture-rated)
The replacement filler material for your tile joints.
Grout sealer
Applied after grout cures to protect against moisture, staining, and mildew.
Safety glasses and dust mask
Protects eyes and lungs from grout dust and debris during removal.
Painters tape
Masks fixture edges and trim to keep grout off surfaces you don't want coated.
A word on grout selection: sanded grout contains fine sand and is used for joints wider than approximately 1/8 inch. Unsanded grout is smoother and suited for narrower joints or polished tile surfaces that could be scratched by sand. Check your joint width before purchasing. For wet areas like showers and tub surrounds, use a grout rated for high-moisture environments.
Step-by-Step: Removing, Applying, and Sealing
Work in sections rather than tackling the whole bathroom at once. Completing one wall at a time keeps the project manageable and prevents fresh grout from drying out before you shape it.
Remove the old grout
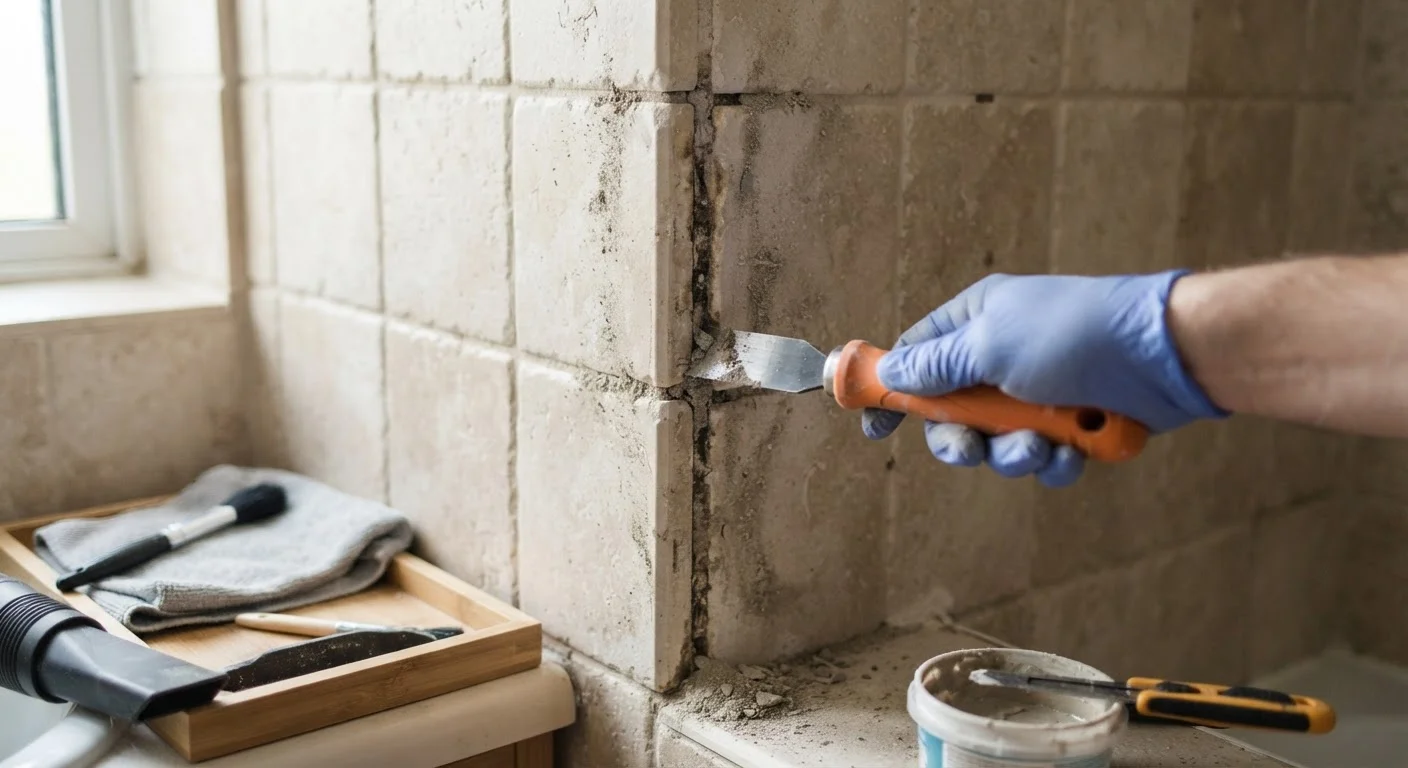
Using your grout saw or oscillating tool, carefully work along each joint to a depth of at least 2-3 mm. You don't need to remove every last trace, but the joint must be deep enough for new grout to bond properly. Work slowly near tile edges to avoid chipping. Vacuum or brush out all loose debris when done.
Clean the joints and tile surface
Wipe down the entire tiled area with a damp sponge to remove dust and residue. Allow the surface to dry completely-damp joints will prevent new grout from bonding correctly. If there is any mildew present, clean with a diluted household cleaner designed for bathroom surfaces, rinse well, and allow extra drying time.
Mix the new grout
Follow the manufacturer's instructions for water-to-grout ratio. Mix in a clean bucket until you reach a smooth, peanut-butter-like consistency with no lumps. Avoid adding excess water-grout that is too thin will shrink and crack as it dries. Mix only as much as you can apply in roughly 20-30 minutes.
Apply grout with the float
Scoop grout onto the tile surface and use the rubber grout float held at a 45-degree angle to press it firmly into the joints, working diagonally across the tiles. Move in multiple directions to ensure joints are fully packed. Don't worry about the tile face-it will be cleaned shortly.
Shape and clean the surface
Once the grout begins to firm up slightly (typically 10-20 minutes depending on conditions), use a damp sponge-wrung out almost completely-to wipe excess grout from the tile faces in a circular motion. Rinse the sponge frequently. Avoid pressing hard into the joints, which could pull out fresh grout. A faint grout haze will remain on tiles; this is normal.
Allow to cure, then seal
Allow the grout to cure according to the manufacturer's recommendation-this is typically 24-72 hours before the area gets wet. Once fully cured, apply a grout sealer using a small applicator brush or roller, following the product's directions. Sealer fills the porous surface of the grout and dramatically extends its lifespan by resisting moisture and staining.
Once the grout is fully sealed and cured, pay attention to where tiles meet the tub, shower pan, or floor. Those transition points should be finished with caulk, not grout-grout is rigid and will crack at joints that flex. If you've ever wondered why caulk in these spots fails quickly, our article on making caulk last explains proper prep and application so your finish holds for years.
Skipping steps or rushing drying times is where most DIY regrouting jobs go wrong. For a broader look at how small missteps compound into bigger problems, this breakdown of common DIY repair mistakes is a practical read before or after your project.
The content provided on our blog site traverses numerous categories, offering readers valuable and practical information. Readers can use the editorial team’s research and data to gain more insights into their topics of interest. However, they are requested not to treat the articles as conclusive. The website team cannot be held responsible for differences in data or inaccuracies found across other platforms. Please also note that the site might also miss out on various schemes and offers available that the readers may find more beneficial than the ones we cover.