

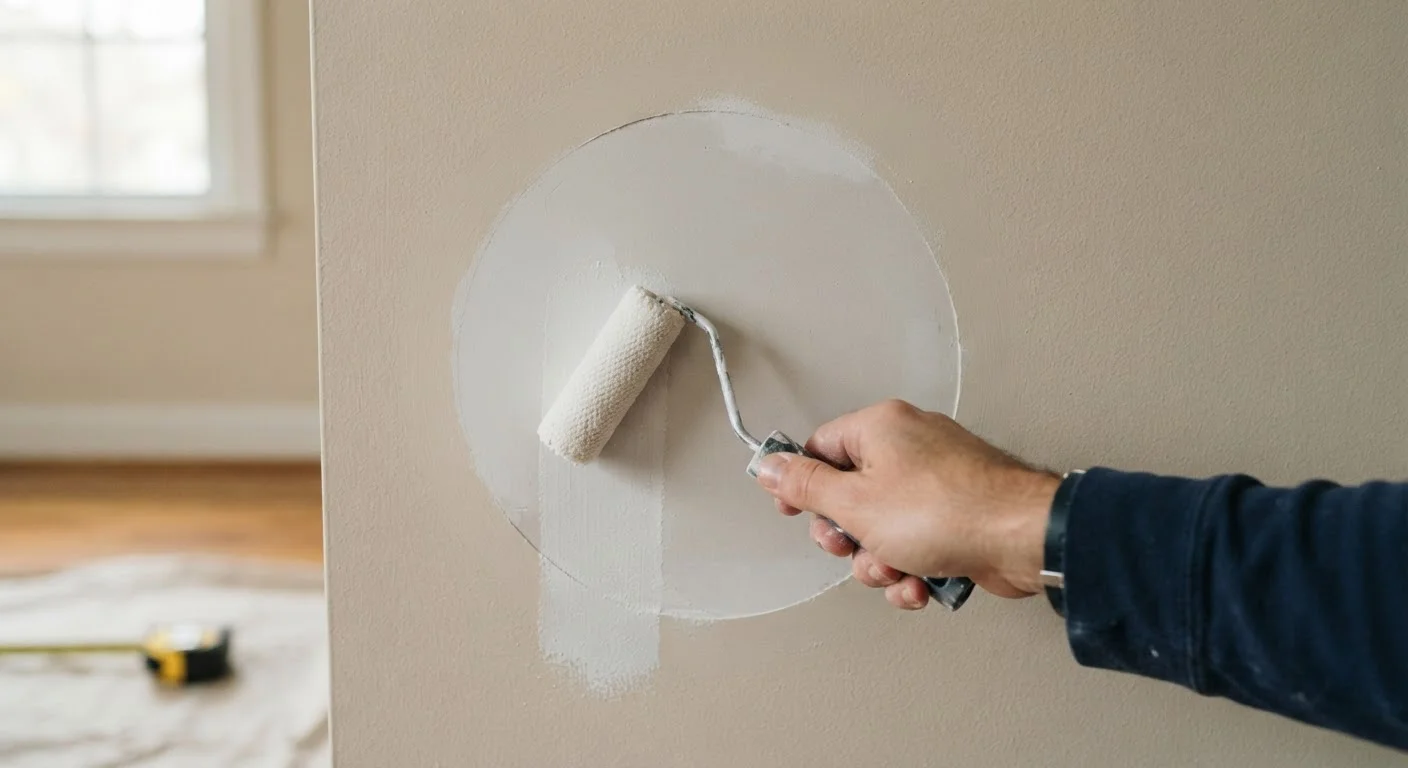
Why Repairs Show Through Paint
You patched the hole, let it dry, and rolled on paint - so why is the repair still visible? The answer almost always lies in what happened (or didn't happen) between the patch and the paint. Repaired areas behave differently from the surrounding wall: joint compound and spackle are porous and highly absorbent, which means they drink in paint at a different rate than the surrounding drywall face or existing paint layer. The result is a dull, sunken-looking spot called flashing - and no amount of extra topcoat will fix it once it's set.
If you've already handled the physical repair, our guide on patching drywall holes covers choosing the right fill method by hole size. Once your patch is solid and fully cured, prep work takes over as the most important phase of the job.
The Right Sanding Sequence
Sanding isn't a single step - it's a sequence. Starting with too fine a grit on a rough patch wastes effort; jumping straight to fine grit before flattening high spots leaves ridges that show through paint.
A practical three-stage approach works well for most drywall repairs:
- 120-grit (coarse): Flatten raised edges, knock down compound ridges, and level any high spots relative to the surrounding wall.
- 150-grit (medium): Smooth out the scratches left by the coarser paper and begin feathering the perimeter of the patch.
- 220-grit (fine): Final pass to create a surface that accepts primer evenly and feels smooth to the hand.
Sand in gentle, circular motions and use a sanding block - not just folded paper - to keep pressure even. Wipe away all dust with a barely damp cloth and allow the surface to dry completely before priming. Dust left on the wall prevents primer from bonding properly.
Feathering: Making Edges Disappear
Feathering means gradually thinning the compound as you work outward from the center of a repair, so there's no abrupt edge where the patch meets the original wall. A hard edge - even a thin one - will telegraph through paint as a visible ridge, especially in raking light (light hitting the wall at a low angle, such as from a nearby window).
To feather effectively: after your final coat of compound, extend your knife strokes 6-10 inches beyond the repair perimeter, applying less and less pressure as you move outward. After sanding, run a straightedge or your hand across the area - you should feel no bump or dip transitioning between the patch and the wall. If you detect a ridge, add a very thin skim coat, feather again, and re-sand when dry.
This same principle applies when repairing caulked joints. See our article on why caulk fails for surface prep tips that carry over to painting caulk lines cleanly.
Priming Repaired Areas Correctly
Primer is not optional on repaired surfaces - it is the step that determines whether your finish coat looks professional or patchy. A dedicated drywall primer (sometimes labeled PVA primer) seals the porous compound so it no longer pulls more paint than the surrounding wall surface.
Spot Prime Before Full-Wall Priming
Apply primer to repaired areas first and let them dry before priming the entire wall. This lets you assess whether a second spot coat is needed without wasting primer across the full surface. Catching flashing at the spot-prime stage is far easier than correcting it after a full topcoat has been applied.
Apply primer specifically to the repaired area first - this is called spot priming. Let it dry fully (check the manufacturer's dry-time guidance on the label), then assess whether the spot still looks different in texture or sheen from the wall around it. If it does, apply a second spot coat. Once the primed area blends in, prime the entire wall section before applying your topcoat. This full-section priming step prevents sheen differences between old and new paint layers.
If your repair covers a large area or you're repainting a whole room, consider a tinted primer - ask the paint counter to tint it 50% toward your chosen topcoat color. This reduces the number of finish coats needed to achieve full, even coverage.
Before committing to any repair project, it helps to review your preparation checklist. Our safety and preparation checklist walks through everything to confirm before you open a can of paint.
Common Mistakes and How to Avoid Them
Even experienced DIYers make the same prep mistakes repeatedly. Knowing them in advance saves time and frustration:
- Painting over damp compound: Joint compound must cure completely - not just feel dry to the touch - before sanding or priming. Rushing this step causes cracking and poor adhesion. In humid conditions, full cure can take 24-48 hours or more.
- Using the wrong primer: Standard wall primer works on intact painted surfaces, but only a sealing primer (PVA or shellac-based) properly locks down porous repair compound. Using the wrong type leads to flashing.
- Skipping the final dust wipe: Fine sanding dust creates a barrier between the primer and the wall. Always wipe with a lightly dampened cloth or tack cloth before priming.
- Applying paint too thickly: Heavy coats hide texture differences in the short term but amplify them as the paint cures and light angles change.
If you're new to DIY repairs overall, our beginner's repair guide builds confidence with the foundational skills that make projects like this far less intimidating.
The content provided on our blog site traverses numerous categories, offering readers valuable and practical information. Readers can use the editorial team’s research and data to gain more insights into their topics of interest. However, they are requested not to treat the articles as conclusive. The website team cannot be held responsible for differences in data or inaccuracies found across other platforms. Please also note that the site might also miss out on various schemes and offers available that the readers may find more beneficial than the ones we cover.