

Summary
22 items · 15-30 minutes
Why a Pre-Repair Checklist Matters
Most DIY injuries and costly mistakes don't happen because a homeowner lacked skill - they happen because something was skipped at the start. A leaky faucet becomes a flooded cabinet when the water supply isn't shut off first. A simple light-switch swap becomes a dangerous situation when a circuit breaker is left on. Running through a consistent pre-repair routine takes less than half an hour and dramatically reduces the chance that a manageable job turns into an emergency.
This checklist is designed to be used before every home repair project, whether you're patching drywall or replacing a worn door hinge. Keep it somewhere accessible - bookmarked, printed, or saved to your phone. If you're just building out your toolkit, our guide to essential DIY tools is a good companion read before you dive in.
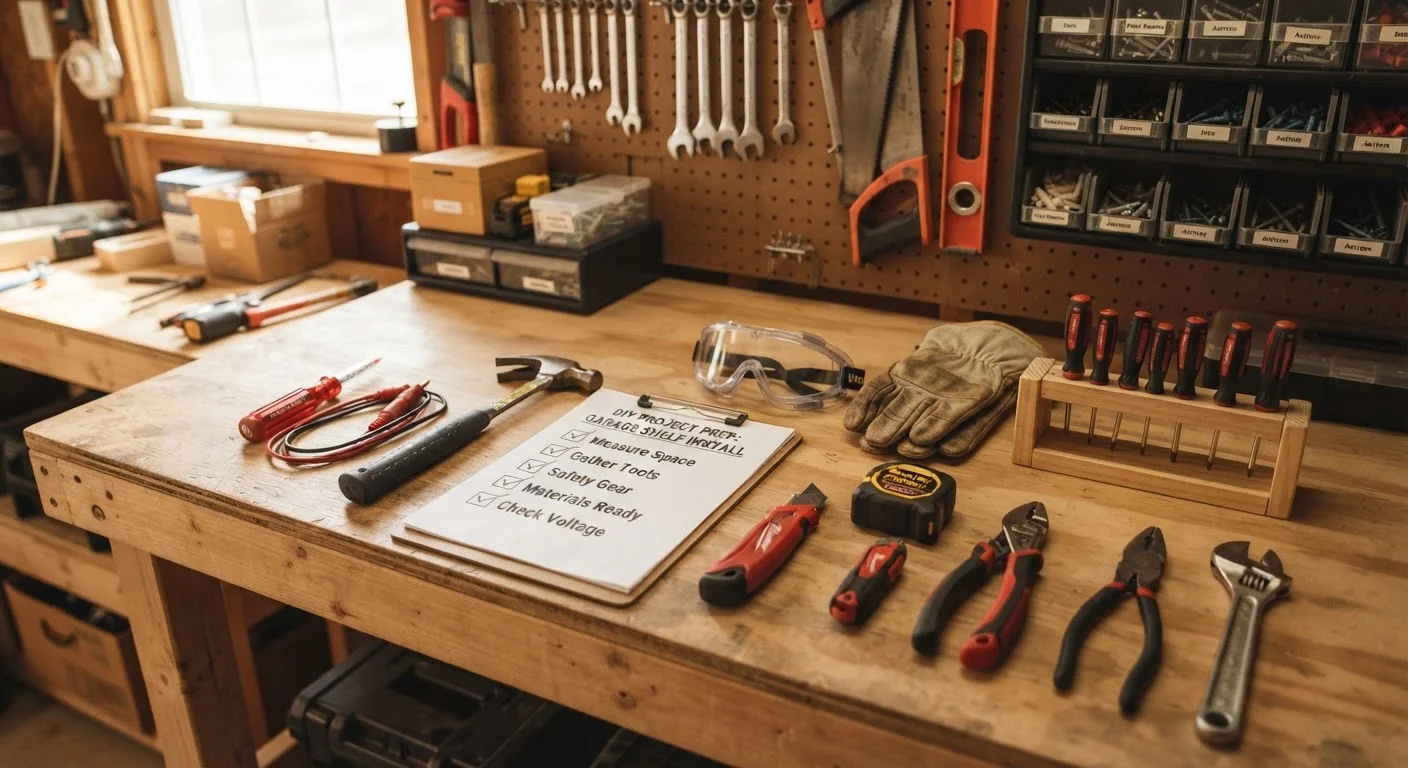
Non-contact voltage tester
Confirms an electrical circuit is truly off before you touch any wiring.
Safety glasses
Protects eyes from debris, dust, and splatter during cutting, drilling, or sanding.
Work gloves
Protects hands from cuts, abrasions, and sharp materials throughout the repair.
Adjustable wrench
Needed to tighten or loosen supply valves and plumbing fittings safely.
Flashlight or headlamp
Ensures you can see clearly inside cabinets, wall cavities, and poorly lit areas.
First-aid kit
Allows you to treat minor cuts or scrapes on the spot without leaving the work area.
Dust mask (N95 or similar)
Filters fine particles when sanding, cutting drywall, or working in dusty spaces.
Knee pads
Reduces joint strain during repairs that require kneeling on hard floors for extended periods.
The Pre-Repair Safety and Preparation Checklist
Work through each group in order. Items marked must are non-negotiable safety steps. Should items are strongly recommended for a smooth project. Nice to have items improve quality or comfort but won't stop you if skipped.
Assess the Repair First
Utility Shut-Offs
Personal Safety Setup
Tools and Materials
Final Go / No-Go Check
If you finish the checklist and realize the scope of your repair has grown beyond what you expected, that's important information - not a failure. Our overview of which repairs are genuinely DIY-friendly can help you decide whether to continue or bring in a professional. And if you're new to hands-on repair work altogether, our beginner's guide to home repairs walks through building confidence job by job.
Knowing When to Stop and Call a Pro
This checklist includes a "stop and reassess" step deliberately. Electrical, gas, structural, and load-bearing repairs carry risks that go beyond standard DIY territory - both for personal safety and for legal compliance. Many jurisdictions require permits and licensed contractors for this type of work, and skipping those requirements can affect your homeowner's insurance and complicate future home sales.
Never Work on Live Electrical or Active Gas Lines
Working on an energized circuit or an active gas line is one of the leading causes of serious DIY injuries and house fires. Always verify with a voltage tester that a circuit is de-energized before touching wires - a tripped breaker alone is not a guarantee. If you smell gas at any point, leave the building immediately, avoid switching any lights on or off, and call your gas utility's emergency line from outside.
If your repair involves anything electrical beyond replacing a standard switch or outlet cover, read our detailed breakdown at The Truth About DIY Electrical Work before proceeding. And if a previous repair attempt has left things worse than when you started, the patterns behind common DIY missteps are worth understanding so you don't repeat them.
Once your repair is complete and surfaces need finishing, don't underestimate prep - proper prep before painting a repair makes the difference between a patch that shows and one that disappears.
This article provides general home maintenance information for educational purposes. Local building codes, permit requirements, and safety regulations vary by jurisdiction. Always verify requirements with your local authority and consult a licensed professional for any work involving electrical systems, gas lines, structural elements, or other regulated trades.
The content provided on our blog site traverses numerous categories, offering readers valuable and practical information. Readers can use the editorial team’s research and data to gain more insights into their topics of interest. However, they are requested not to treat the articles as conclusive. The website team cannot be held responsible for differences in data or inaccuracies found across other platforms. Please also note that the site might also miss out on various schemes and offers available that the readers may find more beneficial than the ones we cover.