

Choosing the Right Repair for the Right Hole
Before you grab a tool, take a moment to assess the damage. Drywall repairs fall into three general categories based on size, and choosing the wrong method wastes time and materials. As part of a broader approach to home maintenance, knowing which repairs are genuinely DIY-friendly helps you avoid unnecessary frustration.
- Small (under ½ inch): Nail holes, small dings, and nail pops. These need only spackling compound or lightweight joint compound.
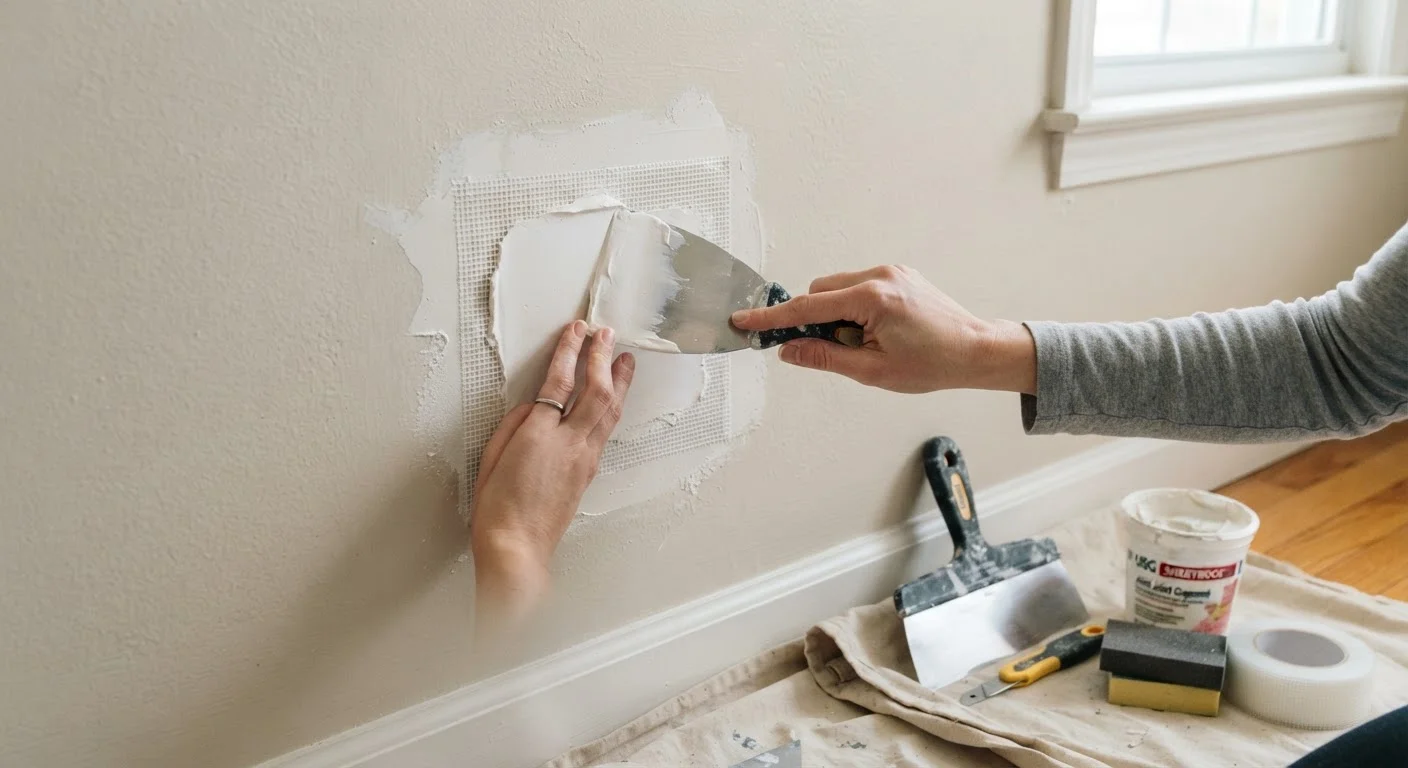
- Medium (½ inch to 4 inches): Doorknob dents, screw anchors pulled out, or accidental impacts. Use a self-adhesive mesh patch or a California patch.
- Large (4 inches and above): Furniture impacts, water-damaged sections, or fist-sized breaks. Require a cut-in drywall piece supported by backing boards or wall studs.
Check for utility lines before working on larger holes - if there is any chance of hitting wiring or plumbing behind the wall, stop and consult a licensed professional.
What you will need
What You Will Need
Gathering materials before you start prevents mid-project trips to the hardware store and keeps the job moving smoothly. If you are new to home repairs, this beginner's repair guide covers how to read a project and work safely from the start.
Spackling compound or lightweight joint compound
Fills small holes and nail pops; lightweight joint compound also works as a finishing coat for larger repairs.
Putty knife (3-inch and 6-inch)
Spreads and smooths compound into the damaged area; a wider knife helps feather edges on larger patches.
Self-adhesive mesh drywall patch
Provides a rigid backing for medium holes (½ inch to 4 inches) so the compound has a stable surface to bond to.
Drywall piece (matching thickness, typically ½ inch)
Used to cut a replacement plug for large holes that need solid structural infill.
Drywall screws and wood backing boards (1×3 or 1×4)
Secure the replacement drywall piece inside the wall cavity for large repairs.
Drywall saw or utility knife
Cuts the damaged section into a clean square or rectangle to make fitting a replacement piece straightforward.
Fine-grit sandpaper (120-150 grit)
Smooths dried compound between coats and before priming to eliminate ridges and seams.
Primer and matching paint
Seals the repaired area and blends it visually with the surrounding wall after all compound coats are dry.
Step-by-Step: Patching From Small to Large
Work through these steps in order, starting at the step that matches your hole size. Each method builds on the same finishing process, so the later steps apply regardless of where you begin.
Fix Small Holes and Nail Pops
For holes under ½ inch, use a putty knife to press a small amount of spackling or lightweight joint compound firmly into the hole. Scrape the surface flush with the wall. Let it dry completely - the compound will lighten in color as it dries.
For a nail pop (a nail head that has pushed through the drywall surface), first drive a drywall screw about 2 inches above and below the popped nail to secure the drywall panel back to the stud. Then tap the nail head just below the surface with a hammer, fill both the nail hole and the screw dimples with compound, and let dry.
Patch Medium Holes with a Mesh Patch
For holes between ½ inch and 4 inches, center a self-adhesive mesh patch over the hole and press it firmly to the wall. Using a 6-inch putty knife, spread a thin, even coat of joint compound over the mesh, pressing it into the openings and feathering the edges outward several inches.
Allow the first coat to dry fully. Apply a second coat, extending it a little wider than the first. Sand lightly with 120-grit sandpaper once dry, then apply a thin third skim coat if needed. The goal with each pass is a slightly wider, flatter layer that blends into the wall.
Replace Large Sections with a Cut-In Patch
For holes larger than 4 inches, use a drywall saw or utility knife to cut the damaged area into a clean rectangle or square. Cut carefully and slowly - avoid pressing the saw blade deep into the wall cavity.
Cut two wood backing boards (1×3 or 1×4) several inches longer than the height of the opening. Slide each board into the hole so it straddles the opening edge, then secure it to the existing drywall with drywall screws. Cut a replacement drywall piece to fit the opening exactly, set it in place, and screw it to the backing boards.
Apply drywall joint tape over all seams, then cover with a coat of joint compound, feathering edges 6-8 inches out. Let dry, sand, and repeat for two to three total coats.
Sand, Prime, and Paint
Once the final compound coat is fully dry, sand the entire repaired area with 120-150 grit sandpaper using light, circular strokes. The surface should feel smooth and flush - run your hand across it to feel for ridges or low spots. Address any imperfections with a thin skim coat before moving on.
Apply a coat of drywall primer to the patched area before painting. Priming seals the porous compound and prevents the topcoat from soaking in unevenly, which would leave a dull or blotchy spot even after painting. Once the primer is dry, paint with your matching wall color.
Once the repair is fully dry and painted, it should be indistinguishable from the surrounding wall. For context on when a repair like this genuinely saves money versus when replacement makes more sense, see our article on repairing versus replacing common household items.
Troubleshooting Common Mistakes
Even straightforward repairs go sideways when a step gets skipped or rushed. Learning from common DIY missteps can spare you from repeating the most frequent errors.
- Compound cracking after drying
- Applied too thick in a single coat. Keep each coat no thicker than ⅛ inch and let it dry completely before adding another layer.
- Visible patch outline after painting
- The compound edges were not feathered wide enough. Sand lightly and apply a wider skim coat that blends 6-8 inches out from the patch.
- Patch feels soft or sags
- The area was painted before the compound fully cured. Drying time depends on humidity and coat thickness - do not rush it.
- Texture mismatch
- If your walls have a texture (orange peel, knockdown, or skip trowel), replicate it before painting using a matching spray or technique, then prime and paint as usual.
Stop If You Suspect Hazards Behind the Wall
Cutting into a wall without knowing what is behind it carries real risk. Electrical wiring, plumbing lines, and insulation can all be present in interior walls. Before making any cuts larger than a small exploratory notch, use a stud finder with AC detection or consult a licensed electrician or plumber. Never proceed if you see wiring, smell gas, or notice moisture inside the wall cavity.
The content provided on our blog site traverses numerous categories, offering readers valuable and practical information. Readers can use the editorial team’s research and data to gain more insights into their topics of interest. However, they are requested not to treat the articles as conclusive. The website team cannot be held responsible for differences in data or inaccuracies found across other platforms. Please also note that the site might also miss out on various schemes and offers available that the readers may find more beneficial than the ones we cover.