

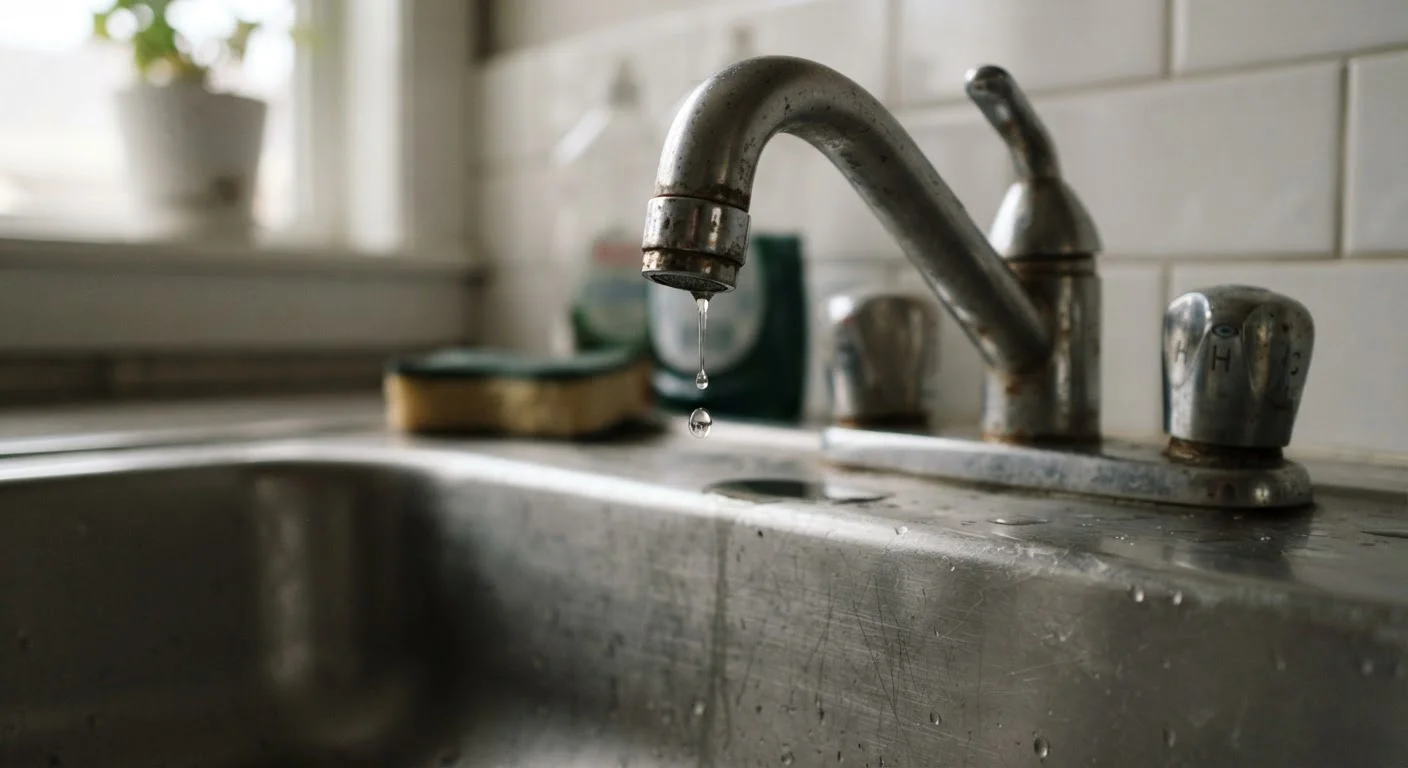
Why Tap Leak Myths Are a Real Budget Problem
A dripping tap is one of the most common household problems - and one of the most misunderstood. Families routinely put off fixing leaks because they've heard it's too complicated, too expensive, or simply not worth bothering about. Those assumptions are costing real money every month.
According to the U.S. Environmental Protection Agency (EPA), household leaks waste nearly 1 trillion gallons of water nationwide each year, with a large share coming from dripping faucets and worn tap fittings. That waste flows directly onto your water bill. The good news is that the majority of tap leaks are straightforward DIY repairs - no specialist tools or trade skills required.
Tap repairs fit into a broader pattern of overlooked household costs. If you're interested in other quiet drains on your household budget, see our article on hidden budget leaks most families miss. And once you've tackled the tap, the same DIY mindset applies to related plumbing: our guide to fixing a running toilet without a plumber walks you through another common water-waster step by step.
Common Tap Leak Myths - Debunked
Below are the misconceptions that most often stop families from acting - and the straightforward facts that should replace them.
Myth
A slow drip is too small to matter - it's not worth fixing.
Fact
A faucet dripping once per second wastes roughly 3,000 gallons of water per year, which translates to a noticeable increase on most household water bills.
The EPA estimates that a drip rate of one drop per second adds up to more than 3,000 gallons annually. Depending on your local water rate, that can mean $20-$35 in added costs each year from a single tap - and most households have more than one leaky fixture at any given time. Small, steady waste is exactly the kind of cost that quietly erodes a family budget without triggering alarm.
Myth
Fixing a tap always requires a plumber and will cost a lot of money.
Fact
The vast majority of tap leaks are caused by worn washers or O-rings that cost under $5 and can be replaced by most homeowners in under an hour.
A compression faucet - the most common style in older U.S. homes - has a rubber washer at its base that presses against a valve seat to stop water flow. Over time the washer wears down and no longer seals completely. Replacing it requires turning off the water supply, removing the handle with a screwdriver, unscrewing the packing nut, and swapping in a new washer. No plumbing license, no specialist tools. Hardware stores stock universal washer kits for a few dollars.
Myth
If a tap is still flowing normally, the leak isn't causing any hidden damage.
Fact
Even a small leak can cause cabinet rot, mold growth, and subfloor damage over months - damage that is far more expensive to repair than the tap itself.
Water that escapes around a tap base or supply fitting doesn't always drip visibly into the sink. It can run down supply lines, pool inside the sink cabinet, and saturate wooden shelving or particleboard flooring. Prolonged moisture creates ideal conditions for mold, which can affect indoor air quality and require professional remediation if left unchecked. A quick inspection under the sink - checking for dampness, soft wood, or discoloration - takes two minutes and is worth doing regularly.
Myth
Newer taps are more complicated and can't be repaired at home.
Fact
Modern ball-style and cartridge faucets are designed for easy cartridge replacement, and manufacturer instructions are widely available online.
Many homeowners assume that because newer faucets look different from old compression taps, they must be harder to fix. In practice, cartridge faucets are often simpler: once you identify the manufacturer and model (usually stamped on the faucet body), replacement cartridges are readily available, and step-by-step video instructions are easy to find. The process typically involves removing a decorative cap, unscrewing the handle, pulling out the old cartridge, and pressing in the new one - no pipe-fitting skills needed.
Myth
Tightening the tap handle harder will stop the drip.
Fact
Forcing a worn tap shut can crack the valve seat or damage threads, turning a cheap washer replacement into a more serious repair.
When a washer wears out, no amount of handle pressure compensates for the compromised seal - it just increases friction against an already-damaged surface. Repeatedly cranking a stiff handle can score the brass valve seat inside the faucet body, meaning even a new washer won't seat properly. At that point, the valve seat itself may need resurfacing or replacement, a more involved job. The correct response to a drip is to open the faucet, inspect the washer, and replace it - not to apply more force.
What You Actually Need to Fix a Leaky Tap
The barrier to DIY tap repair is almost always knowledge, not equipment. For most compression faucets - the style with separate hot and cold handles that you turn - you'll need an adjustable wrench, a flathead and Phillips screwdriver, and a replacement washer or O-ring (both available at any hardware store for under a few dollars). Cartridge-style faucets, common in newer homes, typically require only a cartridge replacement specific to your tap model; the manufacturer's name is usually stamped on the faucet body or visible once the handle is removed.
Before starting any repair, always turn off the water supply valves under the sink or at the main shutoff. This single step prevents flooding and makes the job safe and stress-free. Keep a bucket and a few old towels nearby to catch residual water in the pipes.
When to Stop and Call a Professional
DIY tap repair is appropriate for dripping faucets and worn internal components. It is not appropriate if you find signs of pipe corrosion, water staining on walls or ceilings, mold growth inside cabinetry, or if supply valves won't close fully. These conditions may indicate deeper plumbing issues that require a licensed plumber to assess safely. Permits and inspections may also be required for any work that involves replacing supply lines or fixtures in some jurisdictions - check your local building requirements.
If your tap is connected to a gas line (rare, but present in some older combination fixtures) or if you notice discoloration, corrosion, or signs of water damage inside the cabinet below the sink, stop and consult a licensed plumber. Surface-level drips are DIY-appropriate; hidden pipe damage or mold behind walls is not.
Building Confidence for Future Home Repairs
Successfully fixing a leaky tap is more than a one-time money-saver - it builds the practical confidence to tackle other common repairs. The same careful, step-by-step approach that works for a dripping faucet applies across many household maintenance tasks. Myths that discourage DIY action aren't limited to plumbing, either: similar patterns of misinformation affect car care (see our piece on car maintenance myths that cost drivers money) and even garden watering (garden watering myths that cost you plants and money).
The key habit is acting promptly. A leaky tap noticed today that gets fixed this weekend costs almost nothing. The same leak ignored for six months may have warped cabinet flooring, encouraged mold growth, and inflated dozens of water bills. Empowering yourself with accurate information - not mythology - is the most cost-effective home improvement a family can make.
The content provided on our blog site traverses numerous categories, offering readers valuable and practical information. Readers can use the editorial team’s research and data to gain more insights into their topics of interest. However, they are requested not to treat the articles as conclusive. The website team cannot be held responsible for differences in data or inaccuracies found across other platforms. Please also note that the site might also miss out on various schemes and offers available that the readers may find more beneficial than the ones we cover.