

Why Fluid Checks Belong in Every Family's Routine
Your car relies on several fluids to protect its engine, stop safely, and keep you comfortable on the road. When any one of these drops too low or degrades in quality, the consequences range from an annoying dashboard warning light to a full engine failure on the highway. The good news: catching problems early is straightforward and costs nothing but a few minutes of your time.
This task sits firmly in the category of maintenance any driver can handle at home - no special mechanical skill required. For a broader picture of what you can reasonably DIY versus what's better left to a professional, see our guide to safe DIY car maintenance.
The five fluids covered here are engine oil, coolant, brake fluid, power steering fluid, and windshield washer fluid. Together they take under 20 minutes to check. If you're new to car ownership, this check is one of the first practical skills worth building - our essentials guide for new car owners covers this and other foundational tasks in plain language.
What you will need
What You'll Need
You don't need a toolbox or mechanical experience. The items below are all you need to check every major fluid in a standard passenger vehicle.
Owner's manual
Identifies the correct fluid specifications, reservoir locations, and fill marks for your specific vehicle.
Clean lint-free rags or paper towels
Used to wipe the dipstick clean before taking a reading and to clean up any drips.
Flashlight or work light
Helps you see clearly into the engine bay and read fluid levels in dim garage conditions.
Nitrile or rubber gloves
Protects your hands from engine oil, coolant, and brake fluid, all of which can irritate skin.
Small funnel
Makes topping up fluids easier and reduces the risk of spills inside the engine bay.
Before you start, locate the relevant pages in your owner's manual - usually under "Checking Fluid Levels" or "Under the Hood." Engine bay layouts vary significantly between makes and models, and the manual will show you exactly where each reservoir is on your specific car.
Step-by-Step: Checking Each Fluid
Work through these steps in order. Doing them while the engine is cold makes the process safer and produces more accurate readings across all fluid types.
Park on level ground and let the engine cool
Pull your car onto a flat, level surface and switch off the engine. Wait at least 30 minutes before opening the hood - hot engine components and pressurized coolant can cause burns. A level surface ensures fluid readings are accurate rather than skewed by a slope.
Check the engine oil
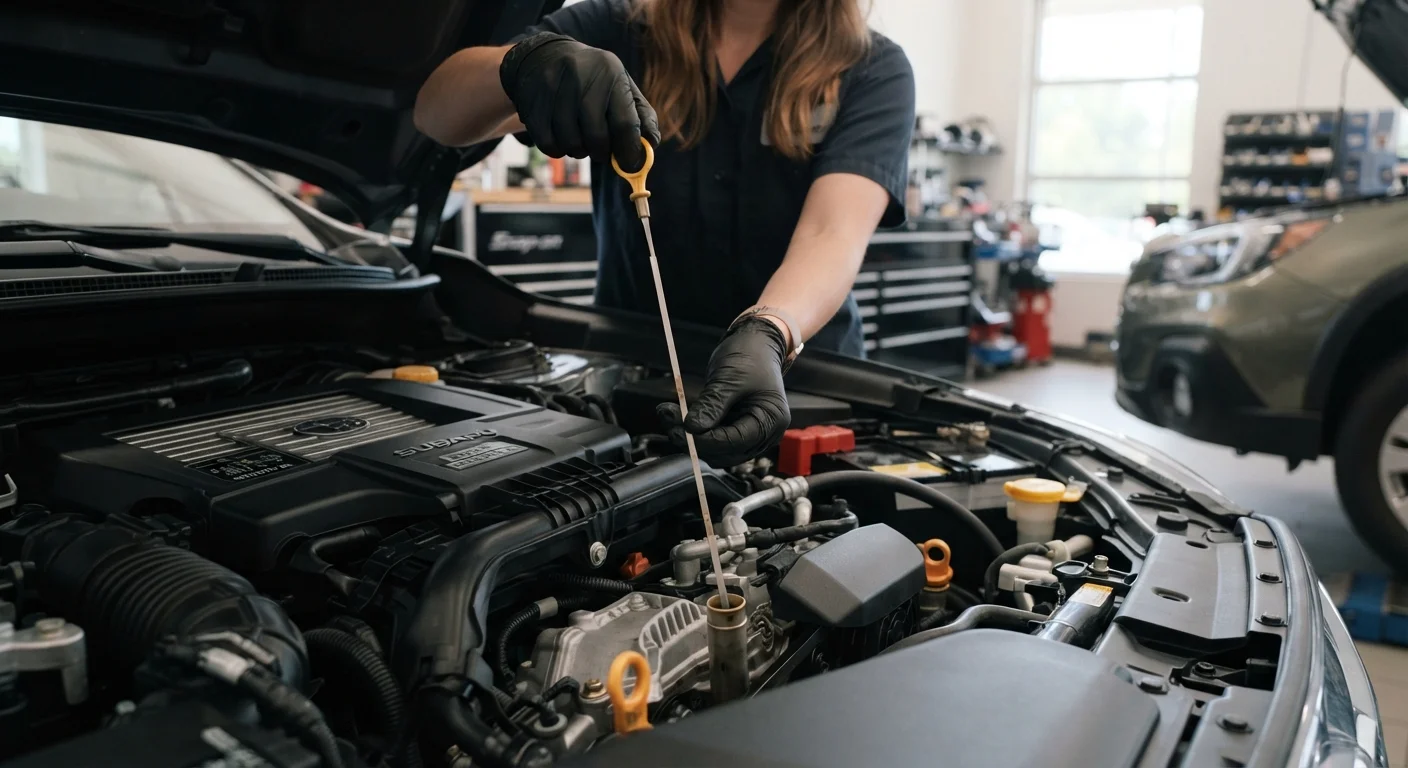
Locate the oil dipstick - it usually has a brightly colored handle labeled "OIL" or marked with an oil-can symbol. Pull it out fully, wipe it clean with a rag, reinsert it all the way, then pull it out again. The oil film should sit between the two marks (labeled MIN and MAX, or L and H). Note the color: healthy oil is amber to light brown. Black, gritty, or milky oil warrants a closer look from a mechanic.
Check the coolant level
Coolant (also called antifreeze) keeps your engine from overheating in summer and freezing in winter. Look for a translucent plastic reservoir - not the radiator cap - with MIN and MAX lines printed on the side. You should be able to read the level without opening anything. Coolant is typically bright green, orange, or pink depending on type.
Check the brake fluid
The brake fluid reservoir is a small, semi-transparent plastic container near the back of the engine bay on the driver's side. Check the level against the MIN/MAX markings on the side without opening the cap. Brake fluid should be pale yellow to light brown. A significantly low level can indicate worn brake pads or a leak - both need professional attention promptly.
Check power steering fluid (if applicable)
Many newer vehicles have electric power steering and no fluid to check. If yours has hydraulic power steering, you'll find a reservoir - often marked with a steering wheel icon - with a dipstick attached to the cap or level lines on the side. The process mirrors checking oil: wipe, reinsert, read. Consult your manual to confirm whether your car has this system.
Check and top up windshield washer fluid
The washer fluid reservoir is typically a blue-capped container. Unlike the other fluids, this is the only one that's generally safe to top up yourself using off-the-shelf washer fluid without worrying about causing mechanical harm. Do not use plain water in cold climates - it can freeze in the lines and crack the reservoir.
Top up any low fluids with the correct type
If any fluid (other than washer fluid) reads below the MIN line, add only the fluid type specified in your owner's manual. Using the wrong coolant type or mixing incompatible fluids can cause damage. Add small amounts at a time, recheck the level, and stop at the MAX mark. Replace all reservoir caps securely before closing the hood.
Build It Into a Monthly Habit
Pairing a fluid check with another regular task - like washing the car or checking tire pressure - makes it easier to remember. A consistent monthly check catches slow leaks or gradual consumption before they become expensive problems. For a broader look at what maintenance tasks to schedule and when, see our family car maintenance schedule guide.
What to Do If Something Looks Wrong
Most of the time, a fluid check turns up nothing more dramatic than a slightly low washer fluid reservoir. But occasionally you'll notice something that needs action beyond a simple top-up.
Sudden Fluid Loss Needs Professional Attention
A noticeable drop in fluid between checks - especially brake fluid or coolant - is not a normal top-up situation. It likely indicates a leak that topping up will only temporarily mask. Take the vehicle to a qualified mechanic promptly. Do not continue driving if the brake fluid warning light is illuminated.
If oil consistently reads low between changes, or if it looks very dark and gritty well before your next scheduled oil change, that's worth mentioning to a mechanic. Coolant that appears rusty or oily could signal internal engine issues. Brake fluid that's particularly dark has likely absorbed too much moisture and may need replacing - your full vehicle service guide explains how mechanics assess fluid condition during a routine service.
If you keep your car stocked with emergency basics alongside staying on top of maintenance, you're in a much stronger position if something does go wrong on the road. Our guide to emergency car supplies covers what safety guidance recommends keeping on hand.
Always Use the Fluid Type Your Car Requires
Fluids are not interchangeable. Using the wrong engine oil viscosity, mixing coolant types, or adding the wrong brake fluid specification can cause real mechanical damage. Your owner's manual is the authoritative source - check it before you buy or pour anything.
The content provided on our blog site traverses numerous categories, offering readers valuable and practical information. Readers can use the editorial team’s research and data to gain more insights into their topics of interest. However, they are requested not to treat the articles as conclusive. The website team cannot be held responsible for differences in data or inaccuracies found across other platforms. Please also note that the site might also miss out on various schemes and offers available that the readers may find more beneficial than the ones we cover.